Adding spaces
Add rooms and areas with optional photos (AI-assisted)
Overview
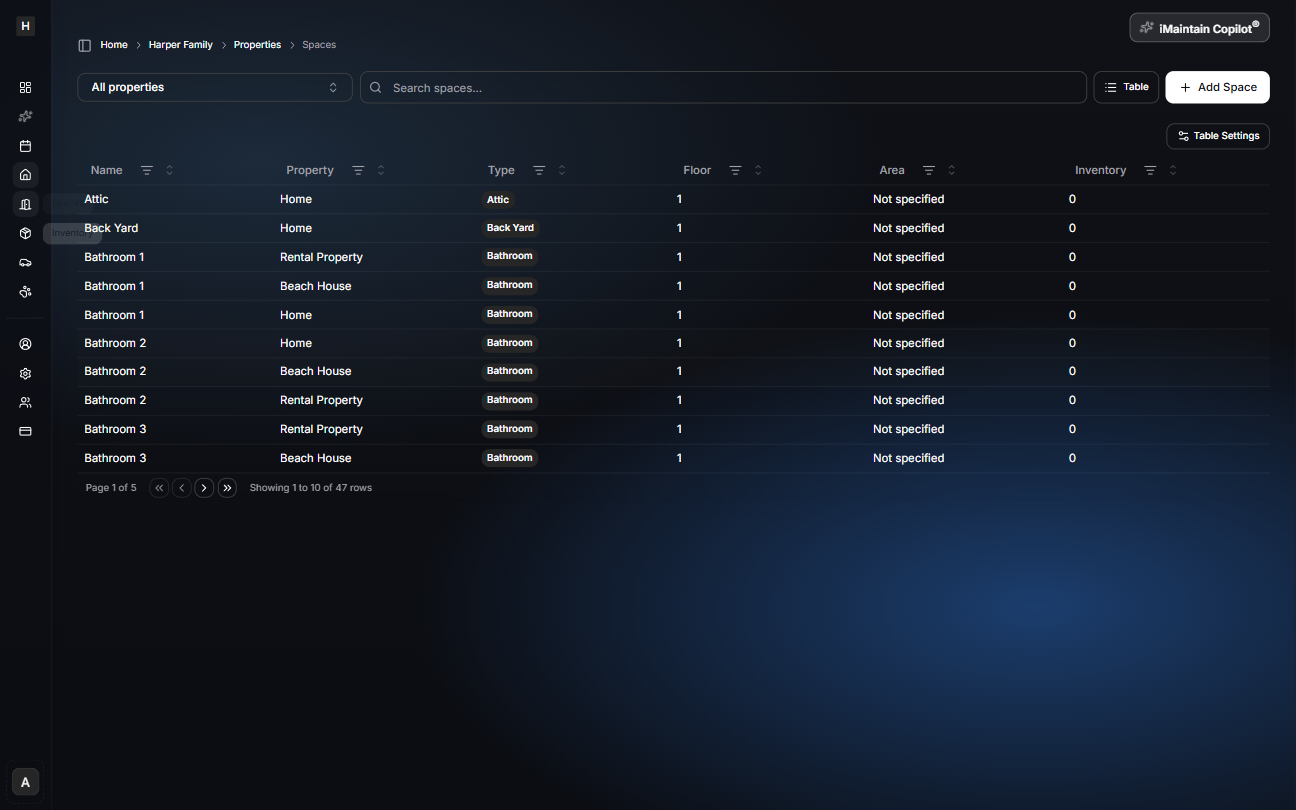
Spaces are the rooms and areas inside a property—Kitchen, Garage, Backyard, Utility Room. They help you keep inventory and maintenance organized by where things are, not just what they are.
Adding a space is simple: optionally add photos for AI suggestions, review the details, then save. Nothing is created until you confirm.
Start from Spaces
Open Spaces from the property navigation. From the spaces list you can search, filter by property, and click Add Space.
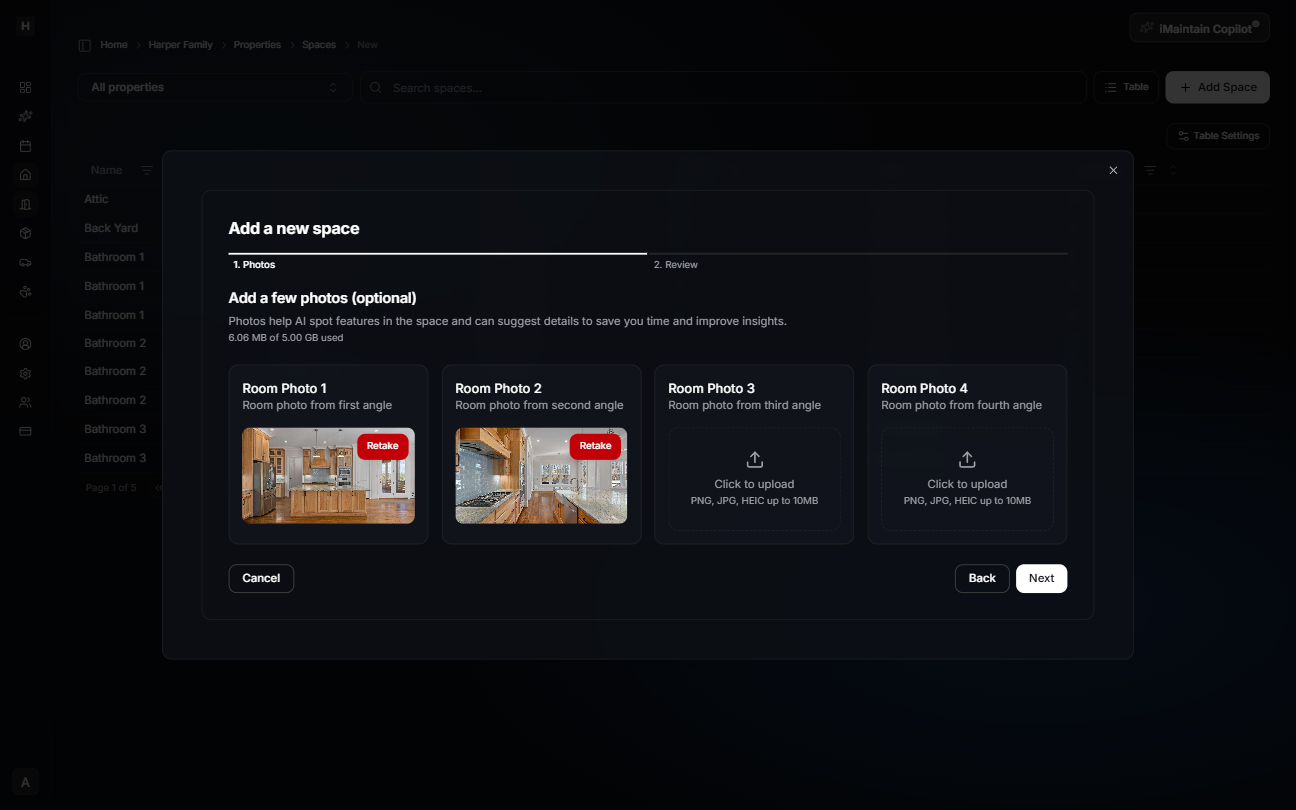
Step 1 — Photos (optional)
Add a few photos of the room/area from different angles. Photos help iMaintain suggest details (like the space type and description) and surface helpful maintenance ideas.
If you don’t have photos yet, you can skip this step and still create the space.
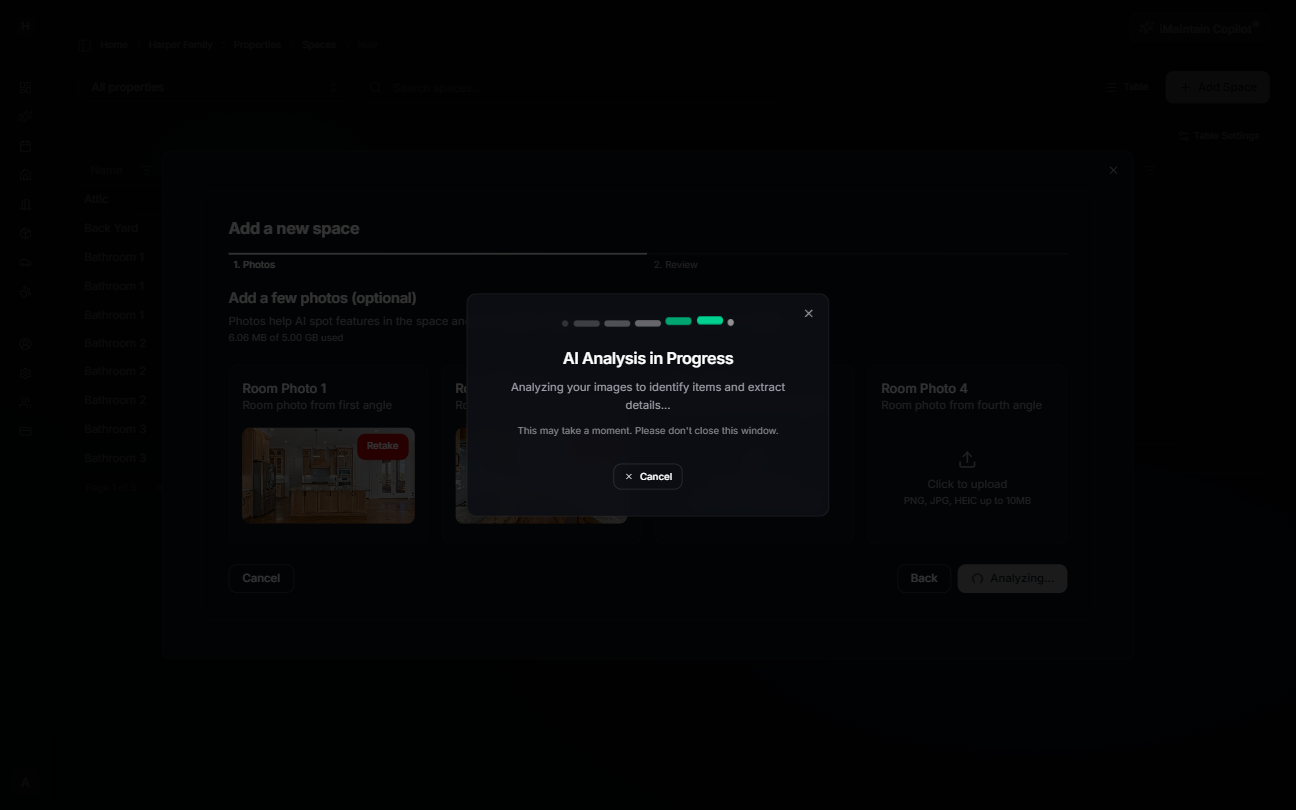
AI analysis (optional)
If you add photos, iMaintain will analyze them. This may take a moment.
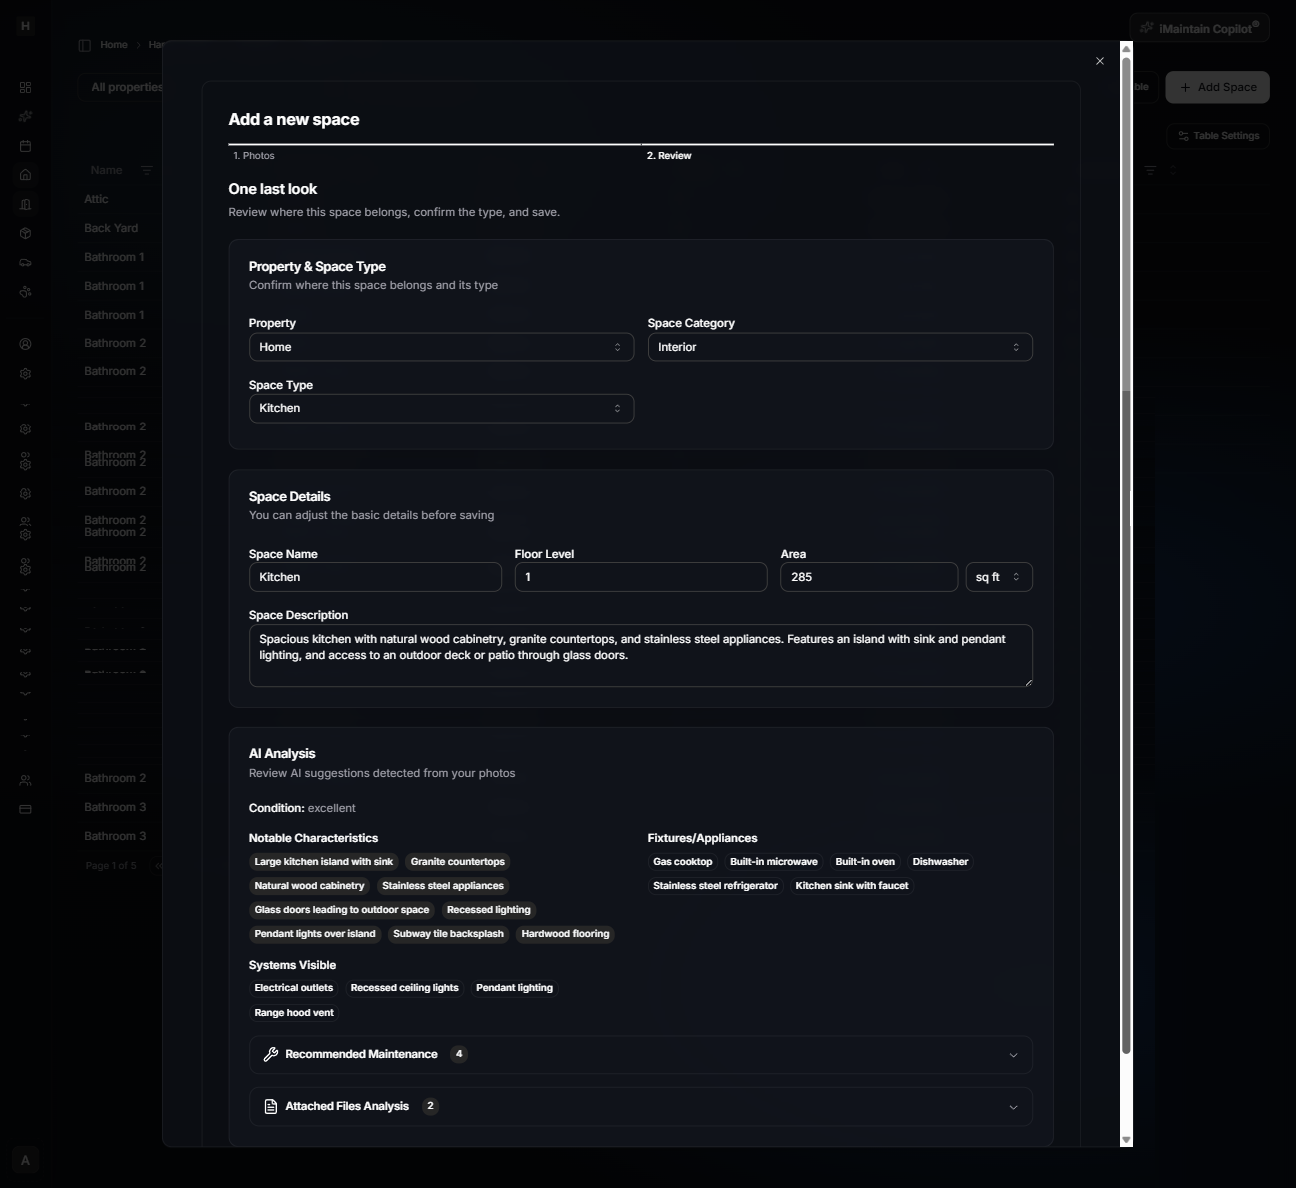
Step 2 — Review & save
Review where the space belongs and confirm the details before saving:
- Property & space type: property, space category (Interior/Exterior), and the space type (Kitchen, Bathroom, etc.)
- Space details: name, floor level, size/area, and an optional description
- AI suggestions (when photos are provided): notable characteristics, fixtures/appliances, systems visible, and maintenance suggestions
Everything is editable. Adjust anything that doesn’t look right, then click Save Space.
After saving
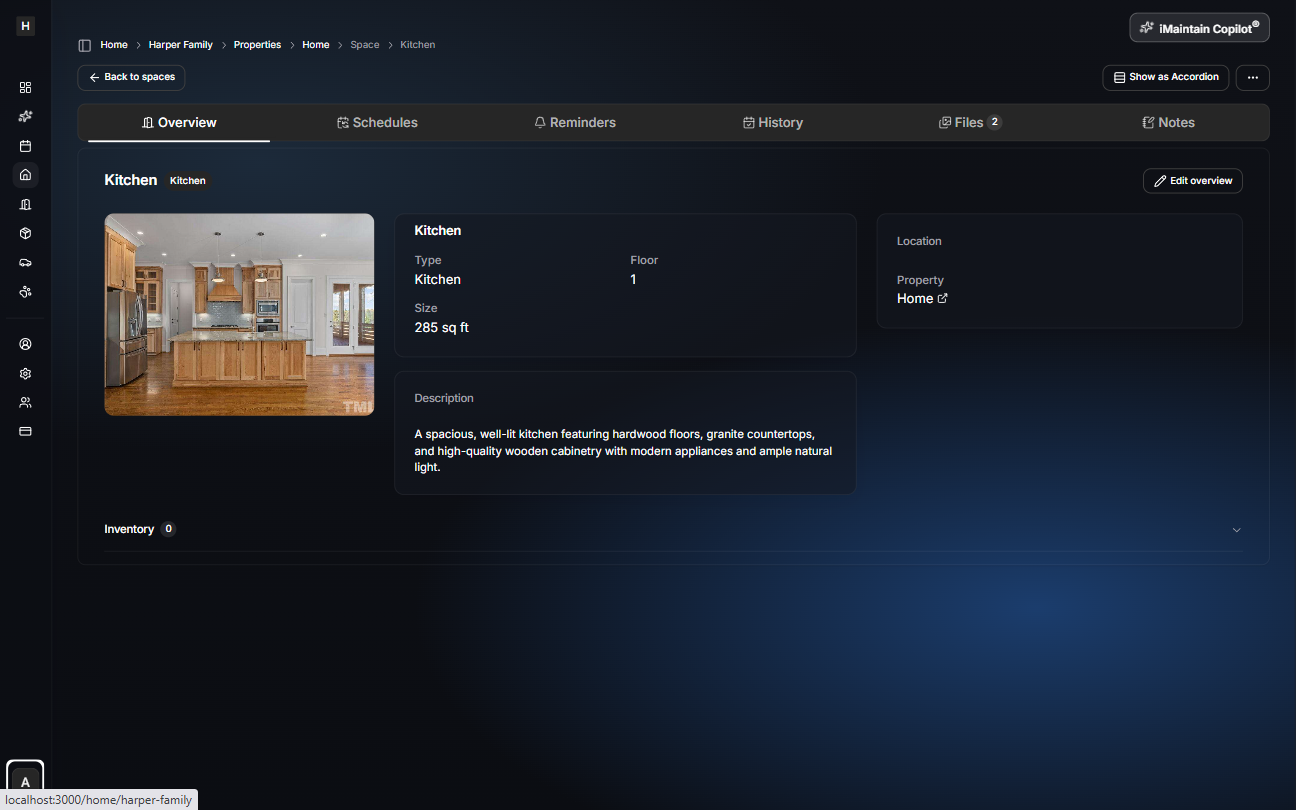
After saving, you’ll land on the space detail page where you can manage the key pillars for that space:
- Schedules, Reminders, and History
- Files (photos and documents)
- Notes
This page is also where you’ll see inventory connected to the space over time.
Tips for better results (with photos)
- Take 2–4 photos from different corners of the room.
- Include systems and fixtures (vents, outlets, water shutoffs, appliances) when relevant.
- Use good lighting and avoid motion blur so details are clear.
Related
- Manage spaces - Spaces help you organize inventory and maintenance by location
- Manage properties - Properties are the foundation for organizing spaces
- Manage belongings - Link items to the spaces where they live
- iMaintain Calendar - Your schedules and reminders roll up into one view
- Files, search, and notes - Find manuals, receipts, and notes quickly
- iMaintain Copilot - Ask questions using your property and space context