Adding belongings
Add items by photo (AI-assisted) or import your existing list—nothing is saved until you confirm.
Overview
There are two ways to add belongings (inventory items) in iMaintain:
- Add by photo (AI-assisted) for quick, accurate setup while you walk around your home.
- Import your data if you already have a spreadsheet/export and want to bring it into iMaintain in bulk.
In both paths, you stay in control. Review what we detected and edit anything before you save.
Option A — Add by photo (AI-assisted)
The Add Item flow is designed to be fast on desktop and mobile:
- Choose where it belongs (Property and optional Space).
- Add photos (and optional receipts / serial number photo).
- Review and save.
You can add:
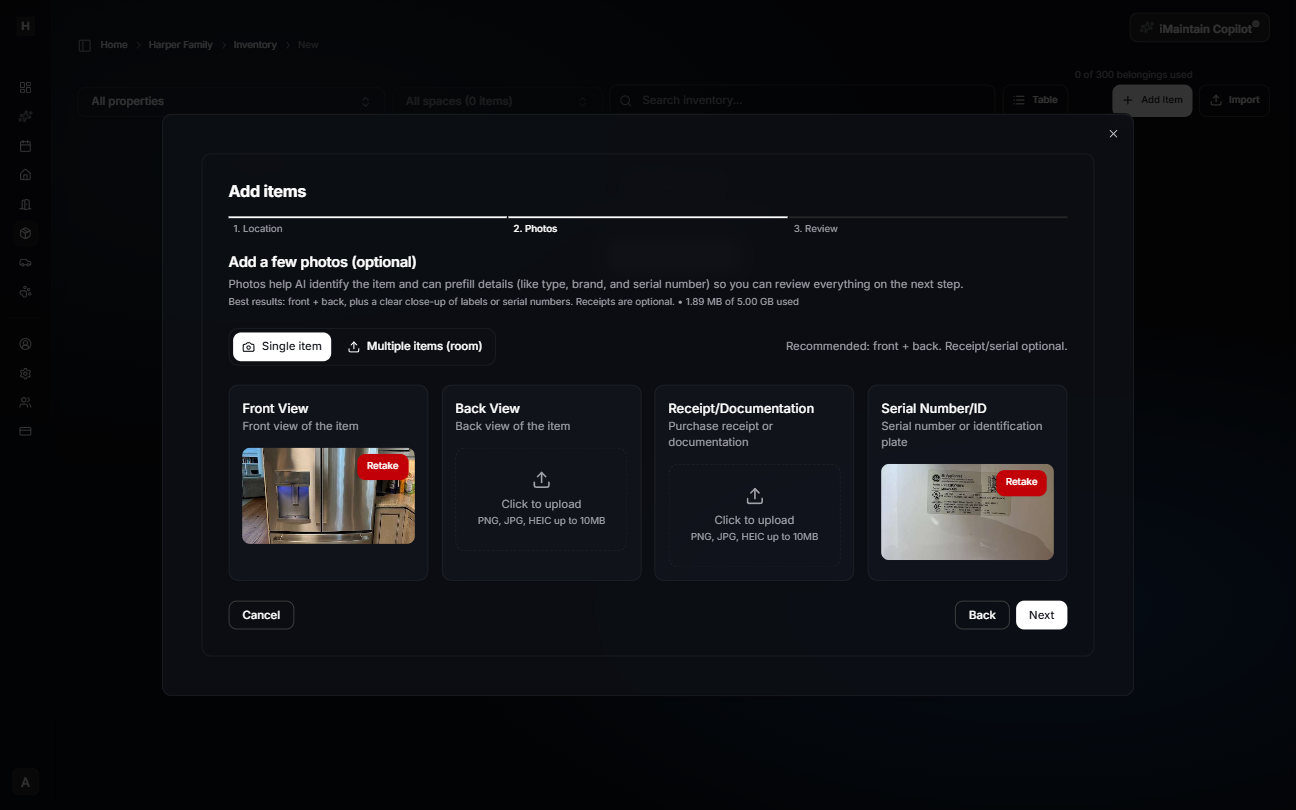
- A single item (one specific belonging with focused detail), or
- Multiple items in a room/space by uploading a few photos of the area from different angles, then selecting which items to save.
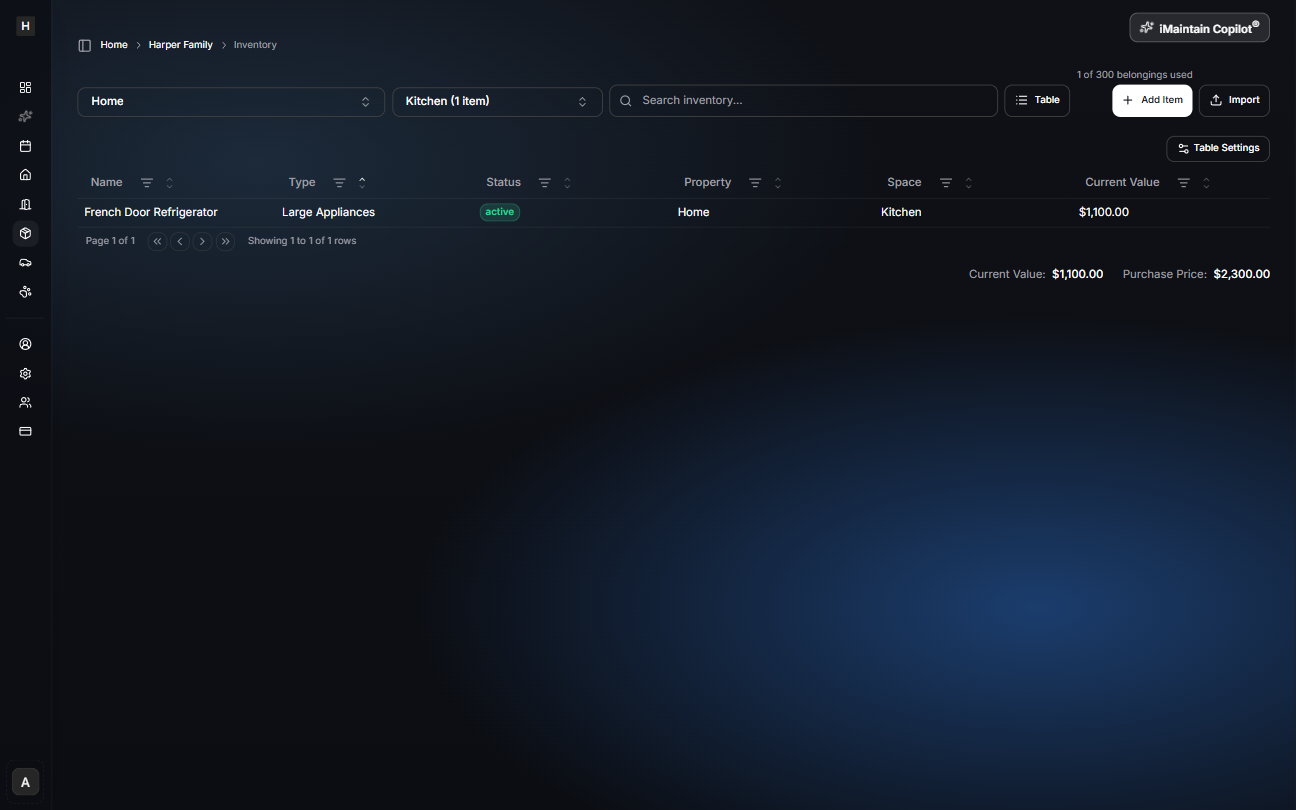
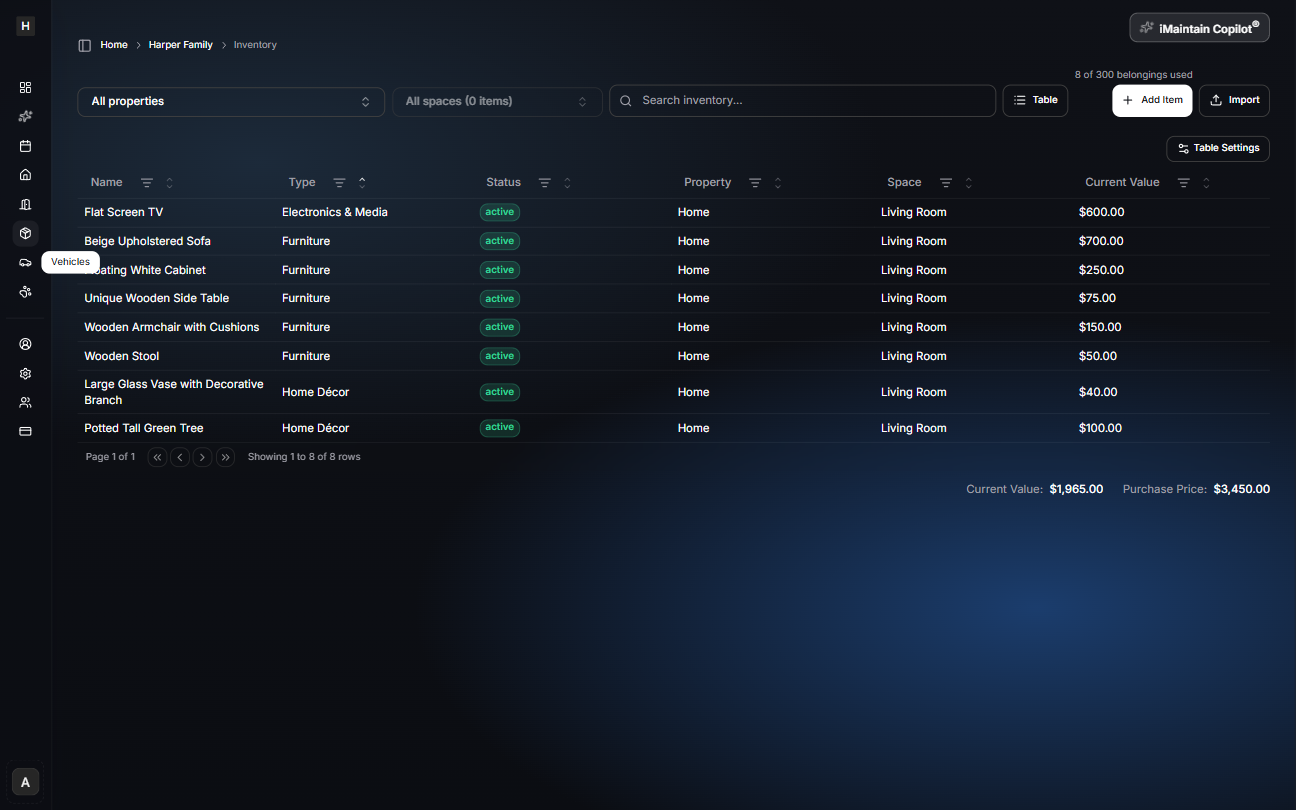
Start from Inventory
Open Inventory, then click Add Item (or Add Your First Item when your list is empty).
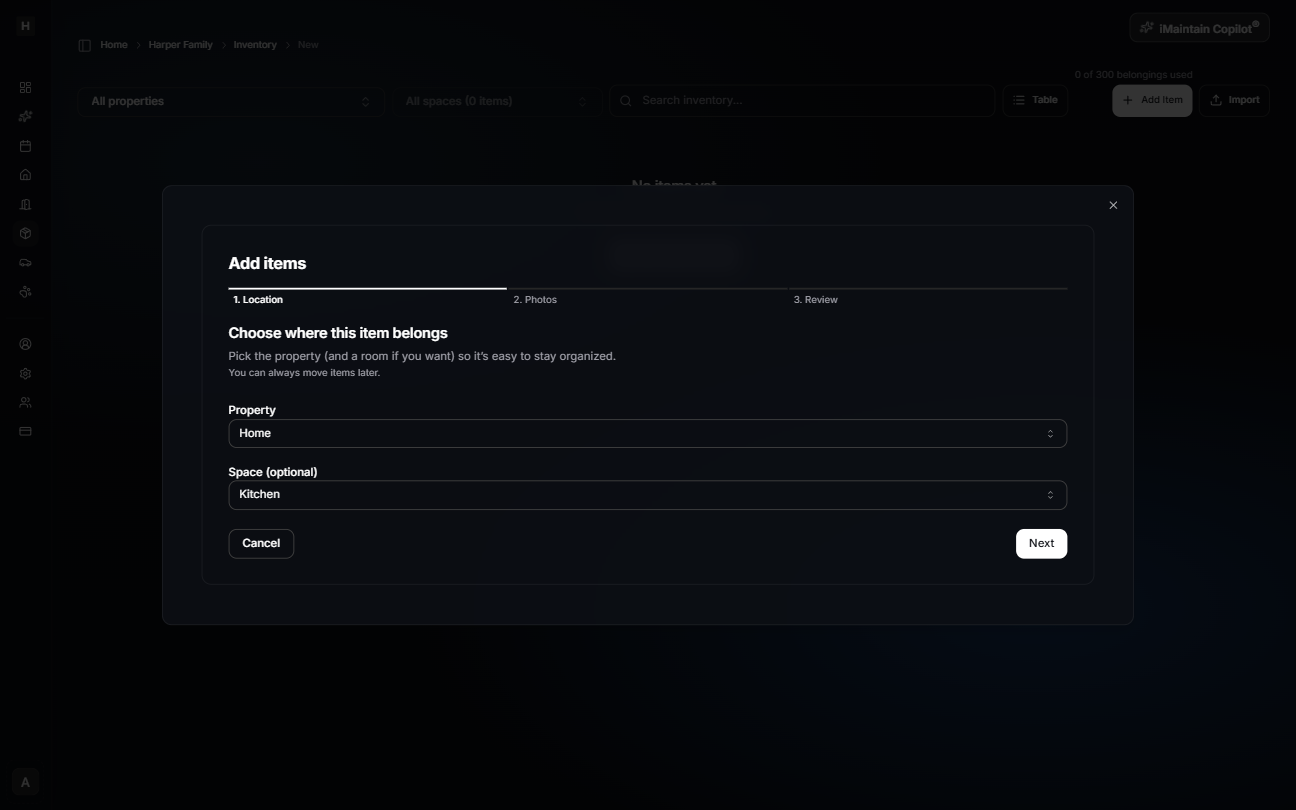
Step 1 — Location
Choose the Property and (optional) Space/Room where the item belongs.
Single item flow (one item)
Step 2 — Photos (optional)
Add a few photos to help iMaintain identify the item and prefill details. Best results come from a front/back photo plus a clear serial/model label when available.
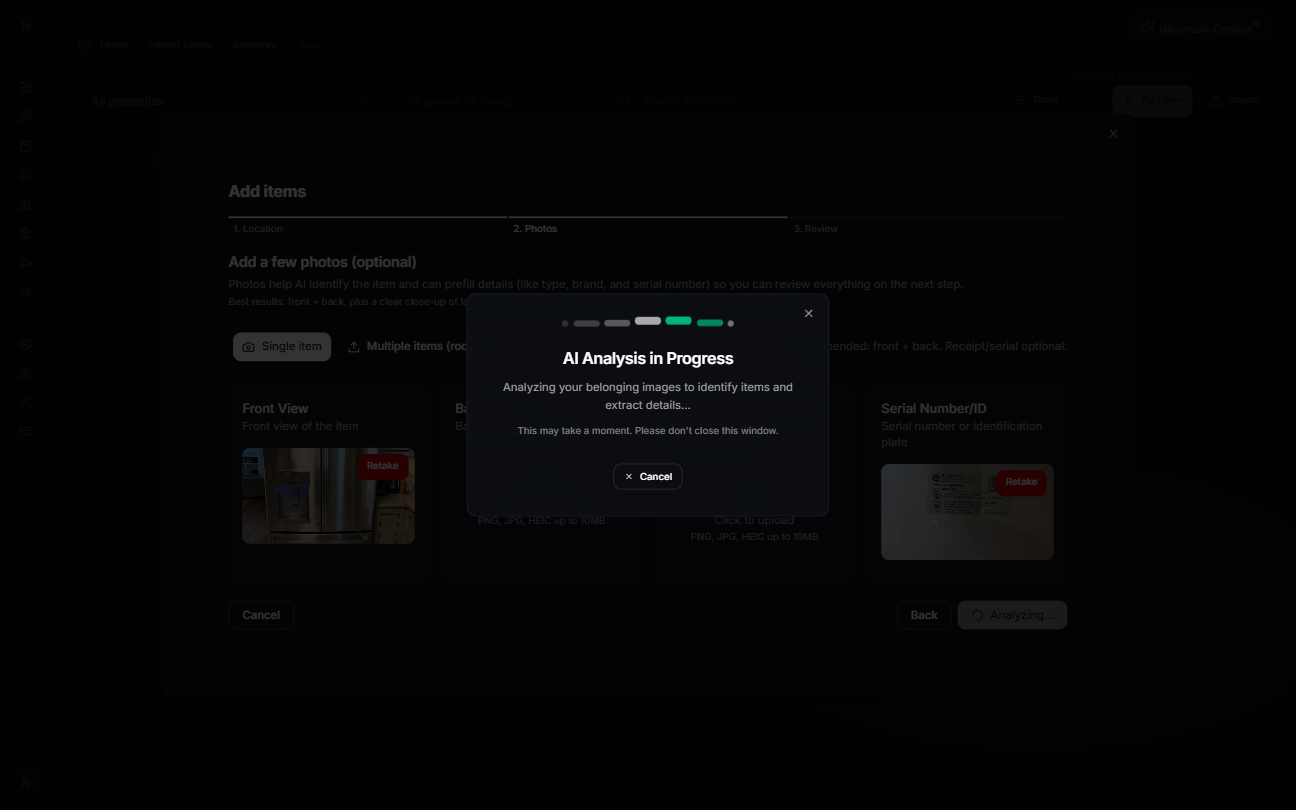
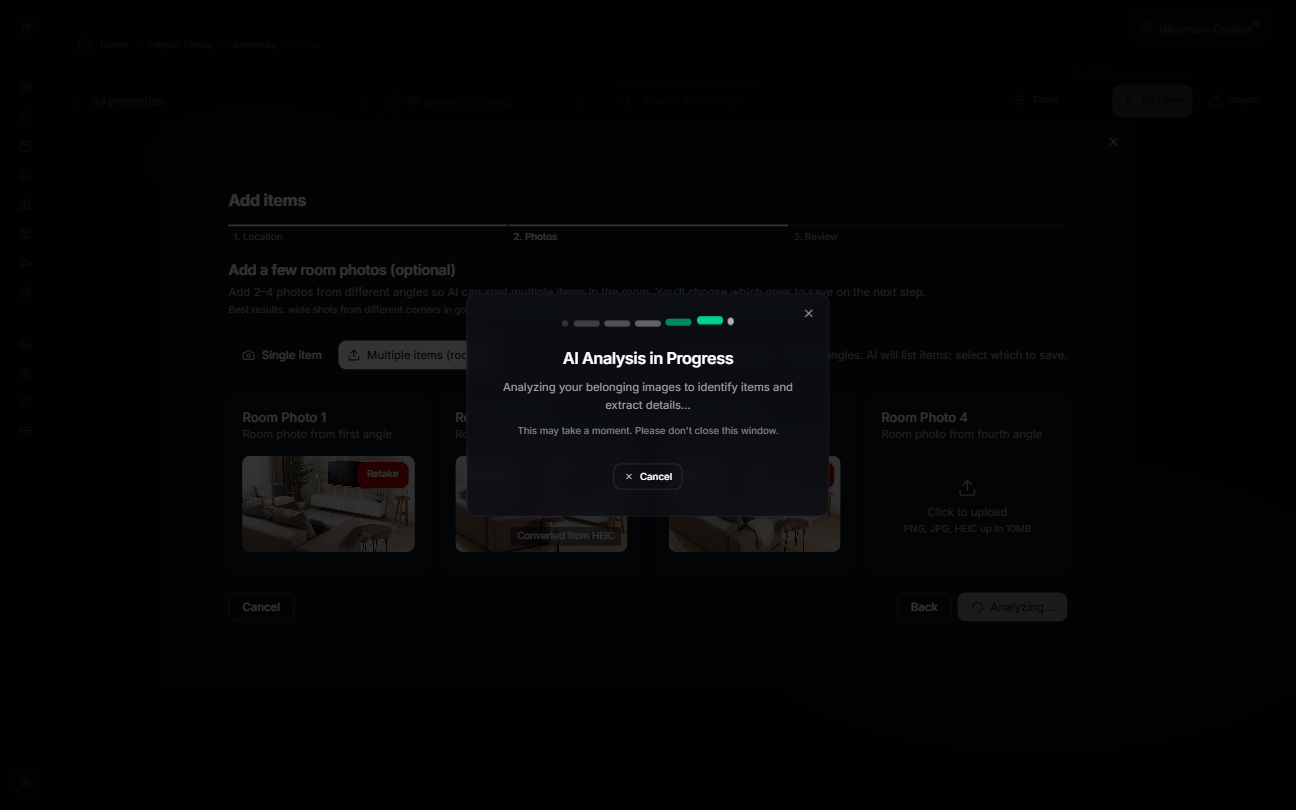
When you continue, iMaintain runs AI analysis.
Step 3 — Review and confirm
Review what was detected and edit anything you want before saving.
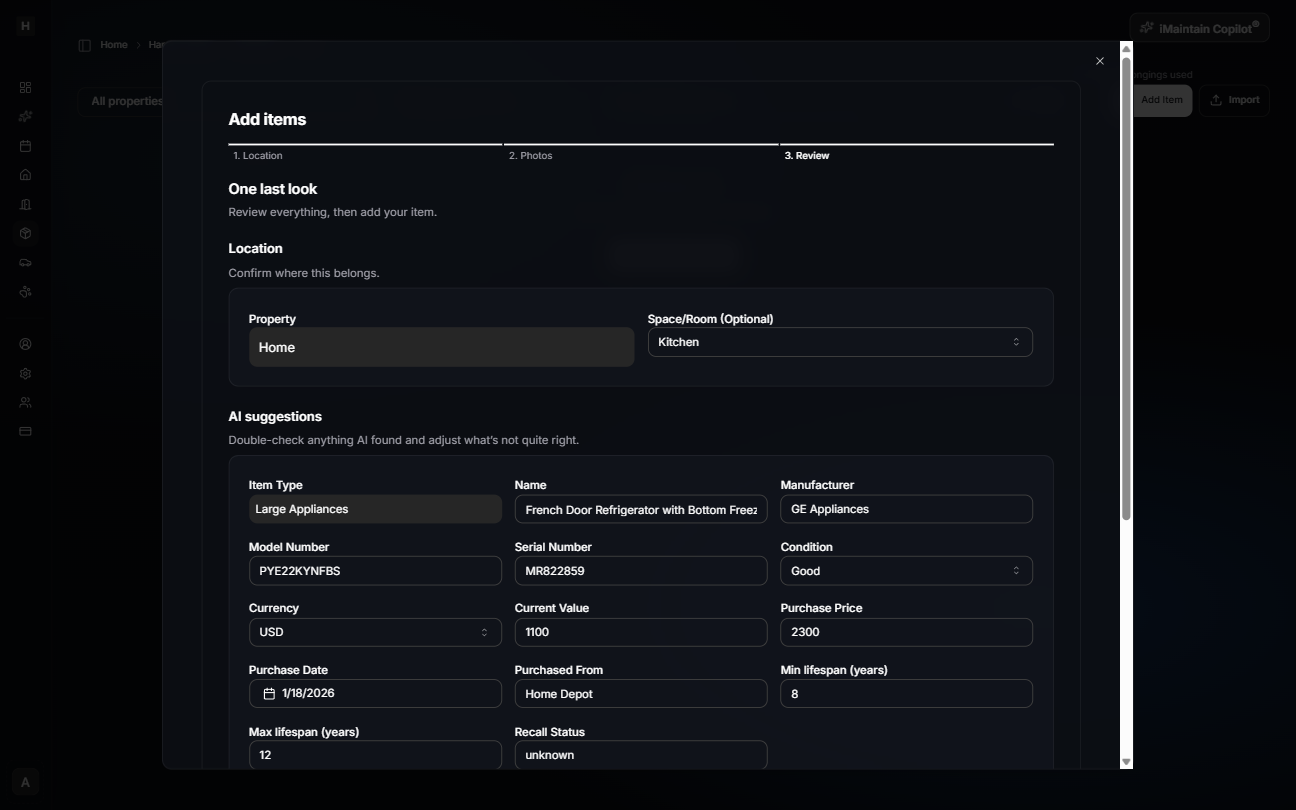
After saving, the item appears in Inventory.
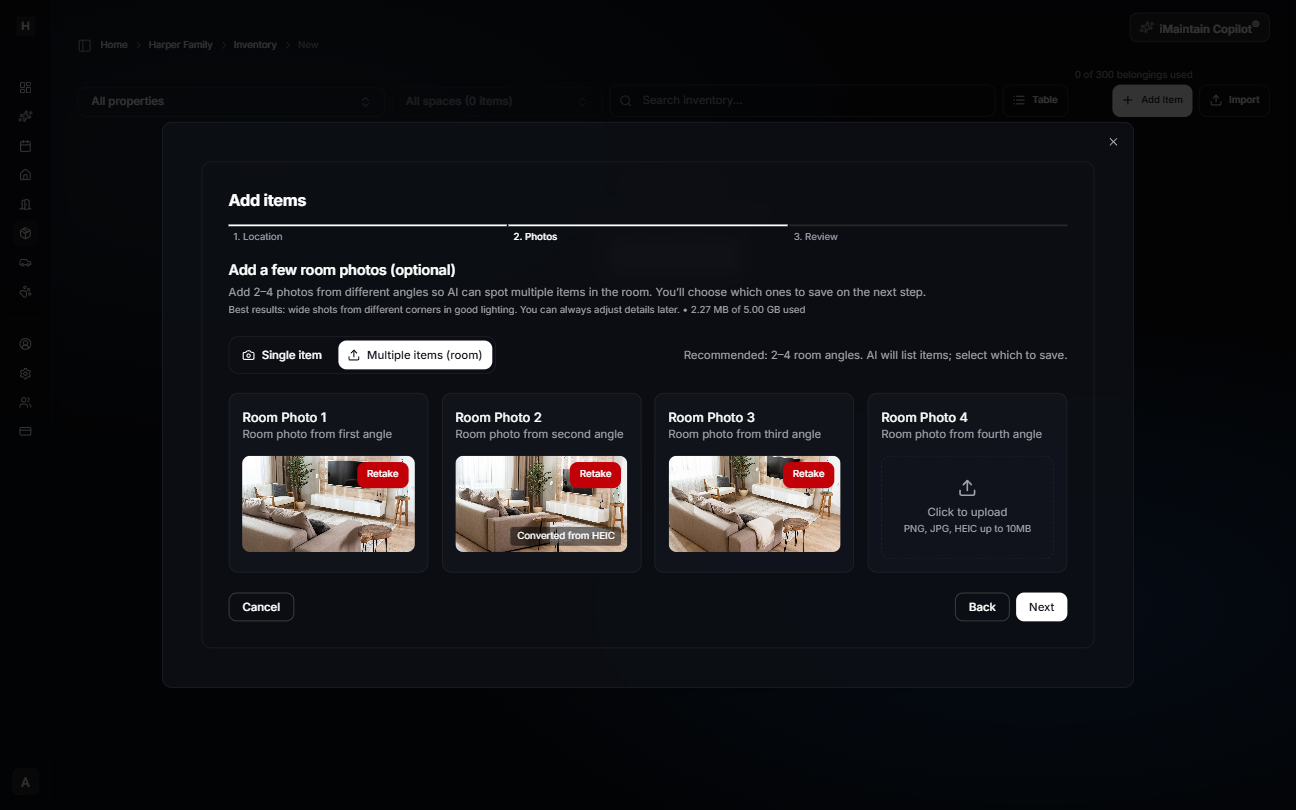
Multiple items flow (room/space inventory)
Use this mode when you want to capture several items quickly (for example: a garage, closet, storage room, or workshop).
Step 2 — Room photos (optional)
Switch to Multiple items (room) and upload 2–4 photos of the room from different angles.
When you continue, iMaintain runs AI analysis.
Step 3 — Review, select, and save
Review the identified items, adjust details as needed, and select which items you want to save.
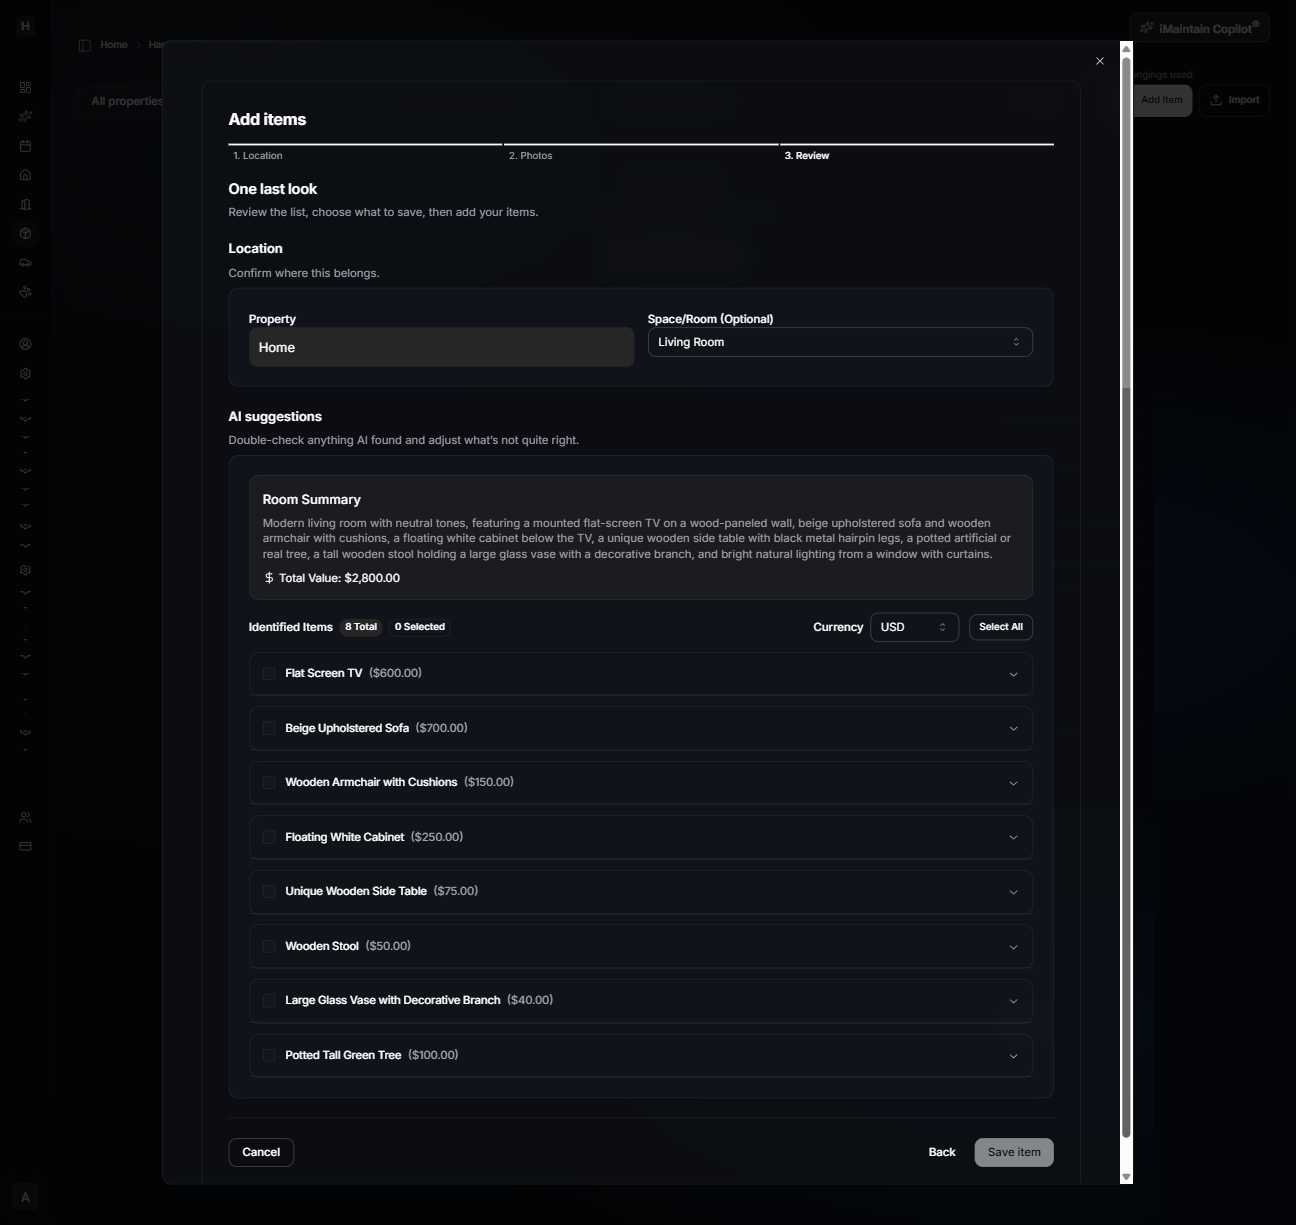
After saving, all selected items appear in Inventory.
What AI can help with
When you add photos, iMaintain can suggest details like:
- Item type/category (for organizing and filtering)
- Manufacturer, model number, serial number (when visible)
- A reasonable estimated value (when enough context exists)
- Typical maintenance suggestions (for long-term care)
- A best-effort owner’s manual link when available
What’s optional vs required
- Required: Item type and item name (you can edit both during Review).
- Optional: Photos, receipt, serial number, value, warranty/insurance info, schedules, reminders, files, and notes.
Option B — Import your data (bulk)
If you already track inventory in Excel/Sheets or you have an export from another tool, importing is the fastest path.
Importing runs analysis first so you can review detected items, fix anything missing (like category), and import only what you choose.
What gets saved (and what doesn’t)
- Saved: the fields you confirm when you create an item.
- Not required: you can start with the basics and fill in details later.
- No guesswork required: if something is unknown, it’s okay to leave it blank and add it later.
Tips for better results
- Take a clear photo of the brand label (model/serial) when possible.
- Add items to a Space (Kitchen, Garage) so they’re easy to find later.
- Upload the receipt or manual now if you have it—future you will be grateful.